记录以前搭建的 hexo blog ,未使用 github workflow,仅 pages
部署
windows
scoop install git
scoop install nodejs
npm install -g hexo-cli # hexo 框架
npm install hexo-deployer-git --save  # git 插件
npm install hexo-generator-search --save # search 栏功能
npm install hexo-renderer-pug hexo-renderer-stylus # 避免报错
linux
pacman -S  git
pacman -S nodejs
npm install -g hexo-cli # hexo 框架
npm install hexo-deployer-git --save  # git 插件
npm install hexo-generator-search --save # search 栏功能
npm install hexo-renderer-pug hexo-renderer-stylus # 避免报错
初始化
hexo init myblog
cd myblog
npm install
if get errors

upgrade node js
sudo apt -y install curl dirmngr apt-transport-https lsb-release ca-certificates
curl -sL https://deb.nodesource.com/setup_14.x | sudo -E bash -
apt-get update -y
sudo apt -y install nodejs
配置
根目录 _config.yml
| code | explanation |
|---|---|
| title | 配置博客页面标题 |
| type | 标签、分类、友情连接 |
| date | 可选配置 (博客创建时间) |
| updated | 可选配置 (博客更新时间) |
| description | 页面描述,可用于博主的自我介绍 |
| keywords | 用于 SEO |
| comments | 评论模块:默认关闭 |
| top_img | 页面顶部图片 |
| 实例: |
title: Tripse Blog
subtitle: ''
description: ''
keywords: Web安全 安全攻防 红蓝对抗 黑客技术 安全演练 CTF 信息安全与评估 DCN设备 神州数码 去阿诺高职院校技能大赛 世界技能大赛 Writeup vulnhub 无线安全 SRC应急响应 安全加固 应急响应 漏洞挖掘
author: Tripse
language: zh-CN
timezone: ''
url: https://tripse.github.io/
theme: butterfly
主题 _config.yml
导航栏
menu:
  首页: / || fas fa-home
  标签: /tags/ || fas fa-tags
  分类: /categories/ || fas fa-folder-open
  友链: /link/ || fas fa-link
  关于: /about/ || fas fa-heart
这里由于操作了导航栏,那么就必须创建几个子页面,操作如下:
创建标签页面
hexo new page tags
出现 source/tags/index.md 文件编辑内容如下:
---
title: 标签
date: 2018-01-05 00:00:00
type: tags
---
以后上传文章的 md 文件中,可以在标题头中加入 tags,包含 标签 文章的例子:
---
title: 标签测试
tags:
  - 1111                 (这个就是文章的标签了)
  - 2222                 (这个就是文章的标签了)
---
创建分类页面
hexo new page categories
出现 source/categories/index.md 文件:
---
title: 分类
date: 2018-01-05 00:00:00
type: categories
---
以后上传文章的 md 文件中,可以在标题头中加入 categories,包含 分类 文章的例子:
---
title: 分类测试
categories:
  - 1111                   (这个就是文章的分类了)
  - 2222                   (这个就是文章的分类了)
---
创建友情链接页面
hexo new page link
出现 source/link/index.md 文件:
---
title: 友链
date: 2018-01-05 00:00:00
type: link
---
添加友情链接
在 Hexo source 目录中创建 _data/link.yml 文件,路径:hexo\source\_data\link.yml
link.yml 内容如下:
class:
  class_name: 友情链接
  link_list:
    1:
      name: 姓名
      link: 链接
      avatar: 图片
      descr: 签名
    2:
      name: 姓名
      link: 链接
      avatar: 图片
      descr: 签名
创建 about 关于页面
hexo new page about
出现 source/about/index.md 文件:
---
title: 关于
date: 2018-01-05 00:00:00
type: about
---
设置代码块主题
highlight_theme: mac
设置 copy 自携带版权信息
copy:
  enable: true
  copyright:
    enable: false
    limit_count: 50
设置搜索功能
local_search:
  enable: true
  labels:
    input_placeholder: Search for Posts
    hits_empty: "We didn't find any results for the search: ${query}" # 如果没有查到内容相关内容显示
  preload: false
图像设置
头像设置
avatar:
  img: https://security-note.oss-cn-hangzhou.aliyuncs.com/dog1.jpeg
  effect: false
首页背景图像设置
index_img: https://security-note.oss-cn-hangzhou.aliyuncs.com/wallpaper-erciyuan-1.jpg
默认背景图像设置 (当未在其他子页面设置背景图象时启用)
default_top_img: https://security-note.oss-cn-hangzhou.aliyuncs.com/wallpaper-erciyuan-1.jpg
其他子页面图像设置
tag_img: htts://security-note.oss-cn-hangzhou.aliyuncs.com/wallpaper-erciyuan-1.jpg
tag_per_img: https://security-note.oss-cn-hangzhou.aliyuncs.com/wallpaper-erciyuan-1.jpg
category_img: https://security-note.oss-cn-hangzhou.aliyuncs.com/wallpaper-erciyuan-1.jpg
category_per_img: https://security-note.oss-cn-hangzhou.aliyuncs.com/wallpaper-erciyuan-1.jpg
开启文章封面显示
cover:
  # display the cover or not (是否顯示文章封面)
  index_enable: true
  aside_enable: true
  archives_enable: true
文章版权信息
post_copyright:
  enable: true
  decode: false
  author_href: https://github.com/Tripse/
  license: CC BY-NC-SA 4.0
  license_url: https://creativecommons.org/licenses/by-nc-sa/4.0/
打赏
reward:
  enable: true
  QR_code:
    - img: https://security-note.oss-cn-hangzhou.aliyuncs.com/2.jpg
      link:
      text: wechat
    - img: https://security-note.oss-cn-hangzhou.aliyuncs.com/alipay.jpg
      link:
      text: alipay
follow me Github
    button:
      enable: true
      icon: fab fa-github
      text: Follow Me
      link: https://github.com/Tripse/
其他平台 flow 配置
先登录 https://www.iconfont.cn/ 阿里 iconfont,这里使用到阿里云 icon 图标 来到页面,添加自己喜欢的 icon 图标到库中
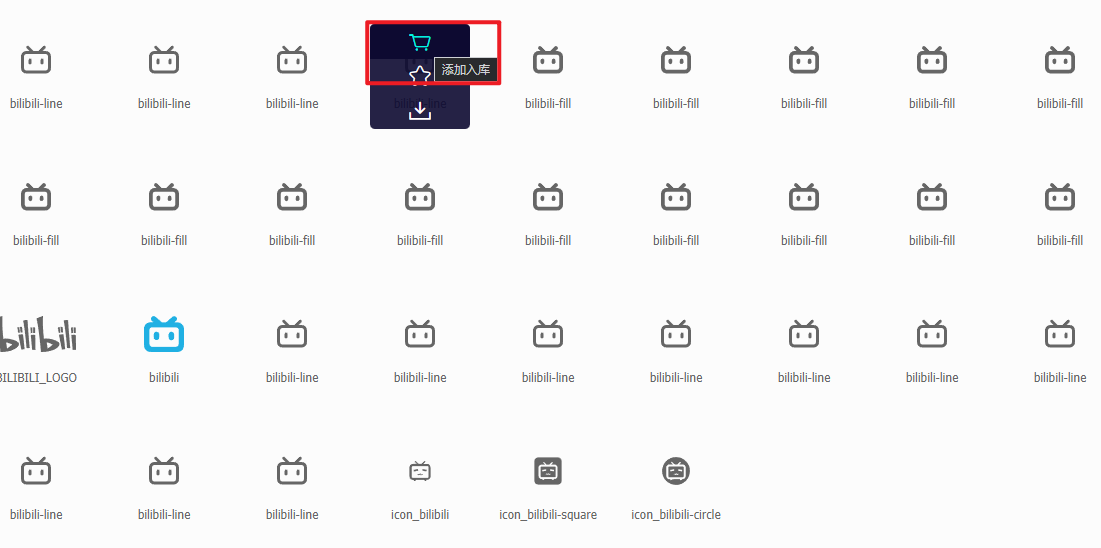 添加完毕后,点击这里小购物车

选择添加至项目

选择中间的 font class,然后点击生成代码
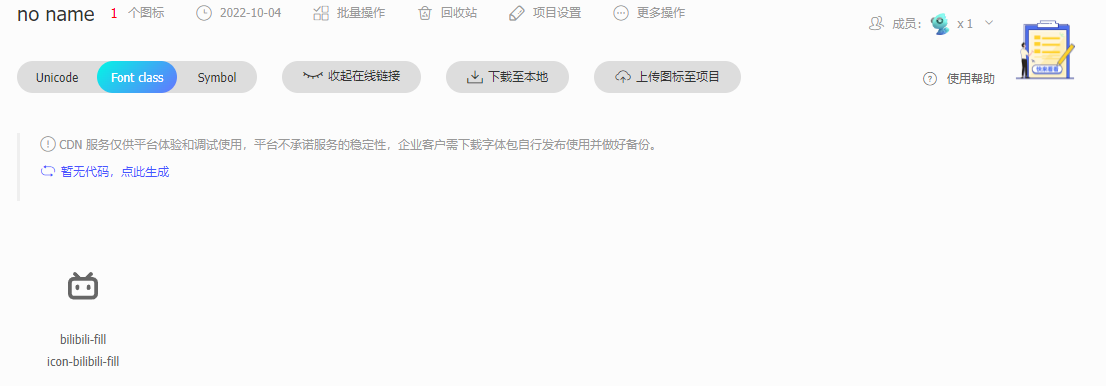
然后即会出现个 CSS

访问该链接,复制全部内容 (CSS) 即可
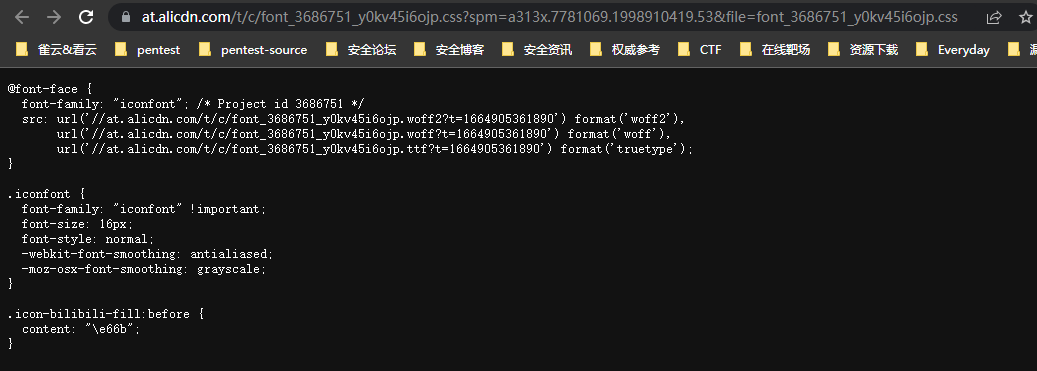
复制完后,在 butterfly 中的 source/css 中新建 css 文件

然后操作 hexo social 部分,引入手法如下:
social:
   iconfont  icon-bilibili: https://space.bilibili.com/324542959?spm_id_from=333.1007.0.0 || bilibili
   iconfont  icon-tree-round-QQgroup: https://jq.qq.com/?_wv=1027&k=dF6M99TL || QQ群
前面 iconfont 固定,后面则是项目名称,可直接到 阿里 iconfont 里复制

最后配置代码:
social:
   fab fa-github: https://github.com/Tripse/ || Github
   fas fa-envelope: mailto:leadlifeLD@163.com  || Email
   iconfont  icon-bilibili: https://space.bilibili.com/324542959?spm_id_from=333.1007.0.0 || bilibili
   iconfont  icon-tree-round-QQgroup: https://jq.qq.com/?_wv=1027&k=dF6M99TL || QQ群
公告
  card_announcement:
    enable: true
    content: This is my Blog
设置主页打字效果
subtitle:
  enable: true
  # Typewriter Effect (打字效果)
  effect: true
  # Effect Speed Options (打字效果速度參數)
  startDelay: 50 # time before typing starts in milliseconds
  typeSpeed: 50 # type speed in milliseconds
  backSpeed: 50 # backspacing speed in milliseconds
  # loop (循環打字)
  loop: true
  # source 調用第三方服務
  # source: false 關閉調用
  # source: 1  調用一言網的一句話(簡體) https://hitokoto.cn/
  # source: 2  調用一句網(簡體) http://yijuzhan.com/
  # source: 3  調用今日詩詞(簡體) https://www.jinrishici.com/
  # subtitle 會先顯示 source , 再顯示 sub 的內容
  source: false
  # 如果關閉打字效果,subtitle 只會顯示 sub 的第一行文字
  sub:
  - it is not that i am so smart  it is just that i stay with problems longer
开启相关文章显示
related_post:
  enable: true
  limit: 6 # Number of posts displayed
  date_type: created # or created or updated 文章日期顯示創建日或者更新日
底部配置
footer:
  owner:
    enable: true
    since: 2022
  custom_text:
  copyright: false # Copyright of theme and framework
上线
上线到 Github Pages,无需服务器,本地维护博客即可
1:新建博客仓库

格式为:<用户名>.github.io
2:本地 Git 接入 Github 博客仓库
git config --global user.name "你的GitHub用户名"
git config --global user.email "你的GitHub注册邮箱"
生成 ssh 密钥文件:
ssh-keygen -t rsa -C "你的GitHub注册邮箱"
然后直接三个回车即可,默认不需要设置密码 然后找到生成的 .ssh 的文件夹中的 id_rsa.pub 密钥,将内容全部复制

回到 Github 用户页面,线上接入线下 SSH
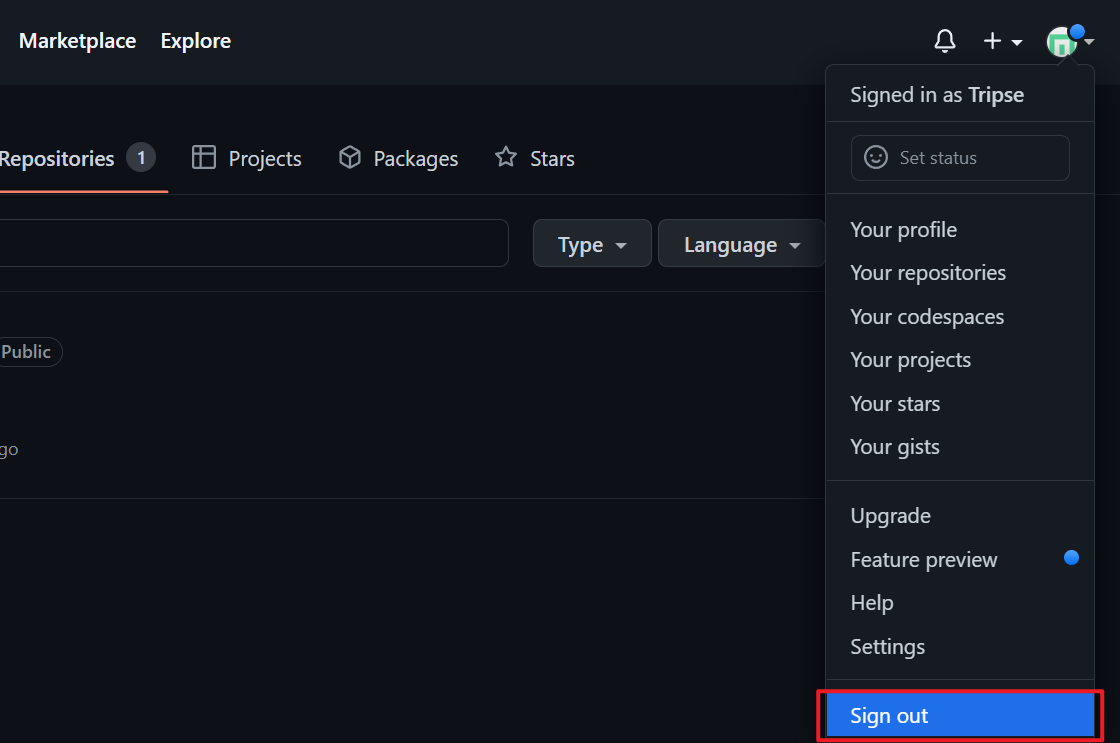
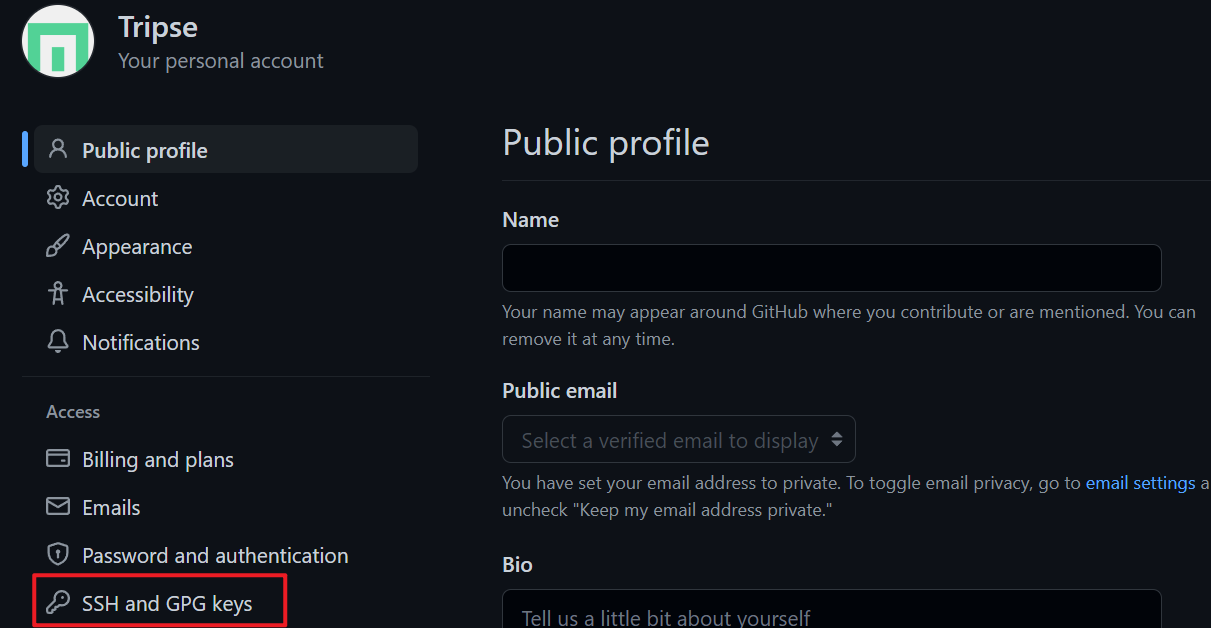

本地测试:
ssh git@github.com

3:最后上线
hexo d
4:访问
浏览器访问:https://<name>.github.io